


SHELF ACTIVITIES BY AGE
- Author: Góc Montessori lúc
- Blog - Our advice, tips & Experiences
- - 0 Bình luận
We know the importance of a calm and organized environment for our little ones. Using a Montessori shelf as opposed to a toy box is a great start to set up that environment. It helps keep toys accessible and organized and prevents toys from getting lost or broken at the bottom of a toy box. But how do you choose what to place on that shelf? There are so many toys and options out there, it can be hard to know what’s right for your child.

A few basic guidelines to follow, in Montessori we try to give toys and activities made of natural materials, they tend to be more environmentally friendly as well as longer-lasting. Besides, before the age of five or six children’s learning is based on real-life and authentic experiences, hence things should replicate real life as closely as possible. For example, for toys such as animals or vehicles, we tend to steer away from simplified wooden replicas. Last but least, we keep in mind that the more a toy ‘does’ the less your child must think and do. So a toy that only requires your child to sit and push a button will challenge your child much less than a toy that your child can decide how to use and what to do with it.
Now you have an idea about which types of toys you may want to choose for your little one, let’s look at a few ideas for toys or activities at different developmental ages. All of these can be placed on your Montessori shelf, either directly on the shelf or in a low basket and many of them can be created by using things you already have at home!
Infants 0 - 9 Months
- Rattles - wooden or woven rattles that your child can handle and explore.
- Toys to encourage reaching and grasping.
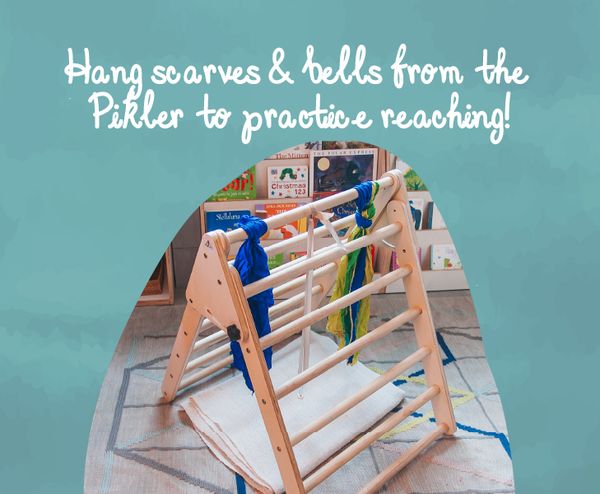
- Mobiles - such as the Munari, octahedron, Gobbi, and dancers mobiles. These can easily be hung from the top bar of a Pikler Triangle if you don’t have a baby gym. For more, check out our article on other uses for the Pikler Triangle here.
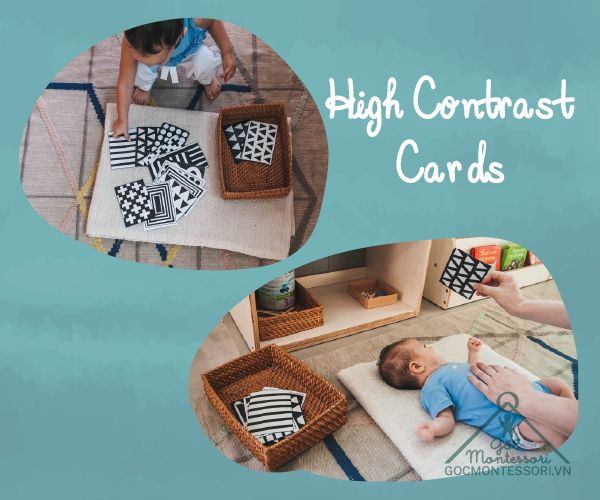
- High contrast picture cards for infants followed by realistic picture cards to develop vocabulary.
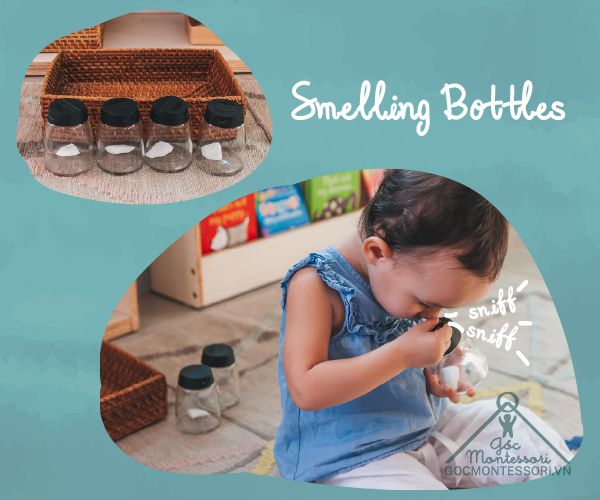
- Sound or smelling bottles - this can be placed on the shelf in a low basket. Look around your home and find what you can place in these bottles that your child may interact with in a natural way as well, for example, you may place coffee or cinnamon in smelling bottles as you drink coffee every morning when playing with your child or mix cinnamon into their breakfast.
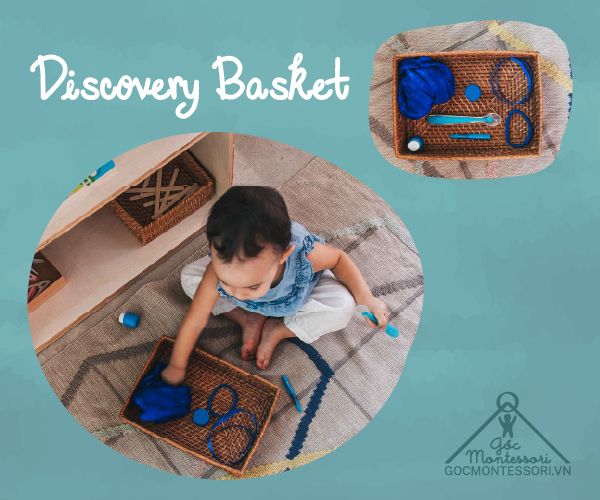
- Discovery baskets - place a collection of objects in a basket for your little one to explore and discover. They’re an excellent way to expose your little one to different textures, colors, and shapes. They can be thematic or random. Some examples of things that might be placed together could be pine cones, leaves, and twigs. They could also be a more random collection including scarves, rocks, seashells, and other objects you have laying around the house.


Babies 9 - 15 Months
- Continued use of language cards - realistic images for further language development.
- Knobbed puzzles with a single shape
- Transferring activities with larger sized objects such as walnuts to encourage the use of palmer grasp. (Avoid any objects that can be a choking hazard).
- Opening and closing containers - provide containers with easily removable lids and let your little one explore both opening and closing as well as matching the containers and lids. Start saving those empty food containers!
- Posting activities - these can easily be made by providing your child with empty bottles or tall containers and popsicle sticks or straws to put inside. Another idea is to use your colander and either straws or pipe cleaners that can fit through the holes.
- Stacking activities using blocks, cups, or containers.
Toddlers 15-24 Months
- Ring stacker- placing rings from large to small. If your child can easily stack rings you can challenge them with a horizontal ring stacker.
- Knobbed puzzles with more pieces - for example, three shapes, three different-sized shapes, or familiar images such as animals or vehicles.
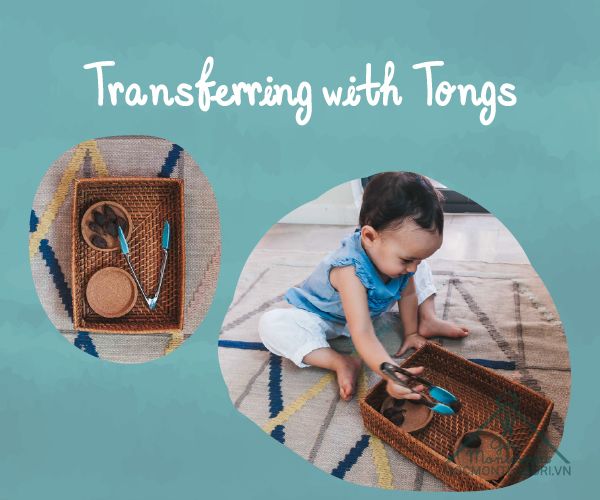
- Transferring activities using tongs or spoons. If your child tends to put things in their mouth, try giving them a bowl of uncooked oatmeal or peppercorns to scoop and transfer with a spoon. Larger objects such as walnuts or small wooden blocks can be transferred using tongs.
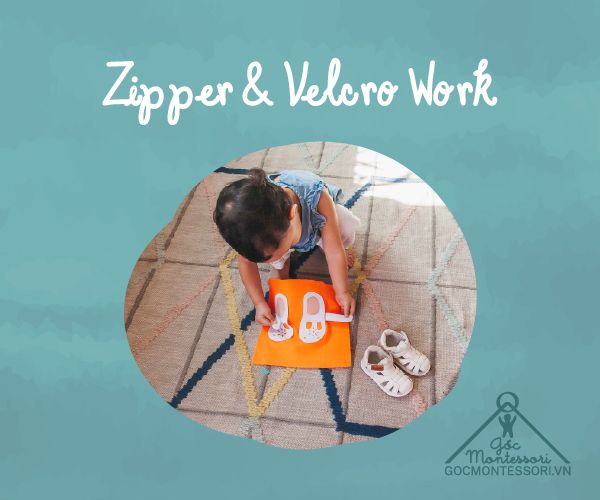
- Velcro, buckles, and zippers - find objects from around the house such as an old fanny pack or wallet to put on the shelf for your child to practice with buckles or zippers. Avoid busy boards at this period as they do not isolate the skill for children and do not give them the opportunity to practice the skill in a realistic or practical - life situation.
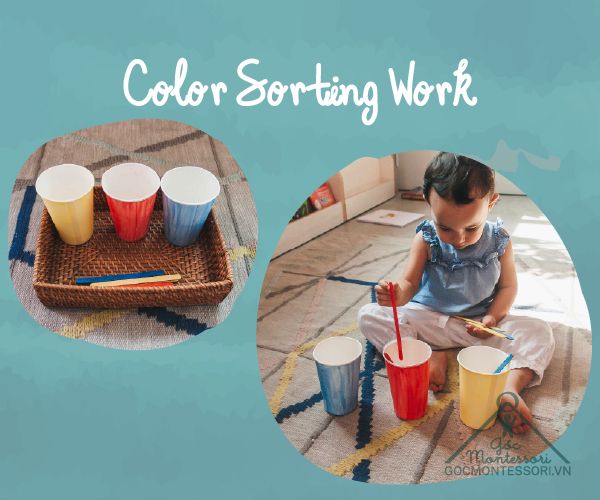
- Sorting colors - be creative and follow your child’s interests when finding objects to sort by color. Start with the three primary colors and once mastered, move on to secondary colors. You can easily paint a few paper cups red, yellow, and blue and some popsicle sticks to match for your child to sort.
- Matching activities such as matching animal figures to corresponding picture cards.


Toddler 24-36 Months
- Numbers - you can easily print and laminate numeral cards for children to practice recognizing and naming or make your own sandpaper numbers.
- Sandpaper letters - again these can be made at home with easy to find resources. Your child will enjoy the texture and you can guide your little one to trace in the correct direction.
- Pouring with small pitchers- pouring uncooked beans or water. A good rule of thumb is to put out only as much as you are willing to clean up when your child is learning these skills. With water pouring, also include a small sponge or cloth for quick cleanups.
- Snaps and buttons - again provide realistic opportunities such as a shirt to practice snap or buttoning skills. Preferably start with large, loosely-sewed buttons.
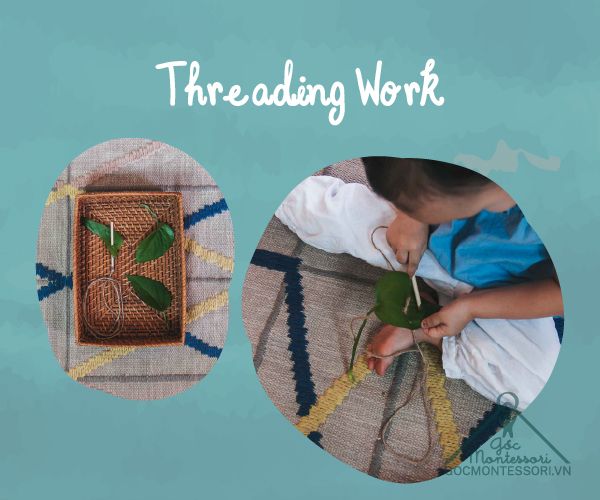
- Threading activities using a thick wooden ‘needle’ and chunky wooden blocks. You can also DIY your own using a twig and yarn to thread some leaves!
- Plant/house polishing - include a small spray bottle and a sponge or cloth for your child to wipe the leaves of houseplants or other surfaces.

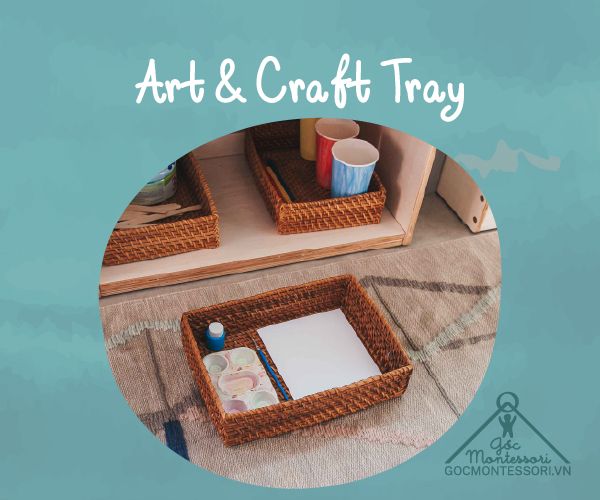
- Arts and crafts - you can choose to leave these in a designated location in your home or place rotating options on your Montessori shelf. Start with pencils and crayons and avoid markers.


As always with Montessori, remember to observe and follow your child’s abilities and interests when choosing toys or activities to place on their shelf. If your child keeps taking your belts and trying to figure out how to work them, place one or two in a basket on their shelf. While there are plenty of beautiful wooden Montessori toys and activities for sale, you can usually find ways of achieving these developmental skills by using things from around your house or creating them from easy-to-find resources. The goal is not to replicate a Montessori classroom, but to create an individualized learning space for your little one to comfortably and independently explore.
We at Góc Montessori hope you found this article useful. For more DIY Montessori ideas for your shelf, please look for our upcoming article.
Written by
Goc Montessori
>> Products mentioned in this article: Montessori shelf & Pikler Triangle
Viết bình luận
Bình luận